How to get started with Bricks Builder.
If you’ve recently purchased Bricks Builder, you may wonder how to get started and create a stunning website that reflects your website with this powerful builder. While the software is designed to be user-friendly, having a step-by-step guide to get you started can still be helpful. In this article, I’ll walk you through the four essential steps to start with Bricks Builder. From installing the builder to customizing your builder’s settings, you will know better how to use Bricks by then. Let’s get started!
1: Installing Bricks Builder
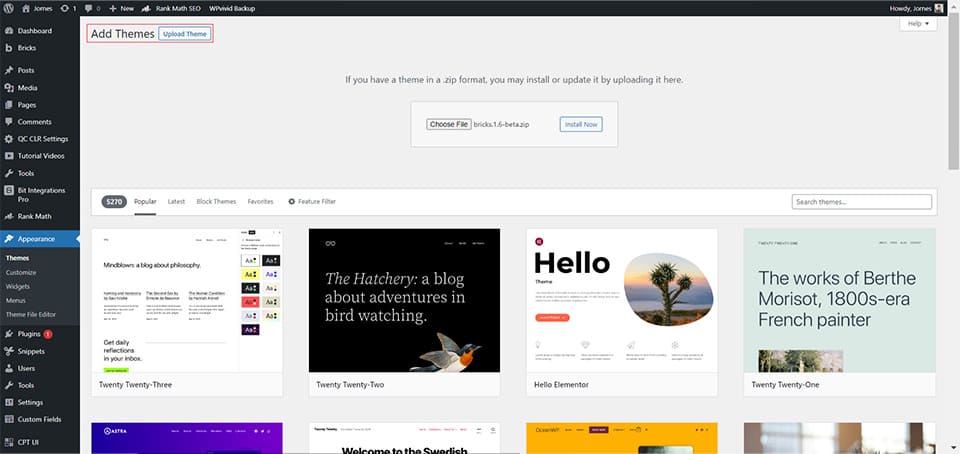
It’s important to note that Bricks Builder should not be installed as a plugin. To say it correctly, Bricks Builder is designed to be used as a theme, not a plugin.
License Activation
Obtain the license key from the Bricks Dashboard.
Where to obtain the license key?
Log into your Bricks account > License > License Key(copy the key)

Where do you insert the license key?
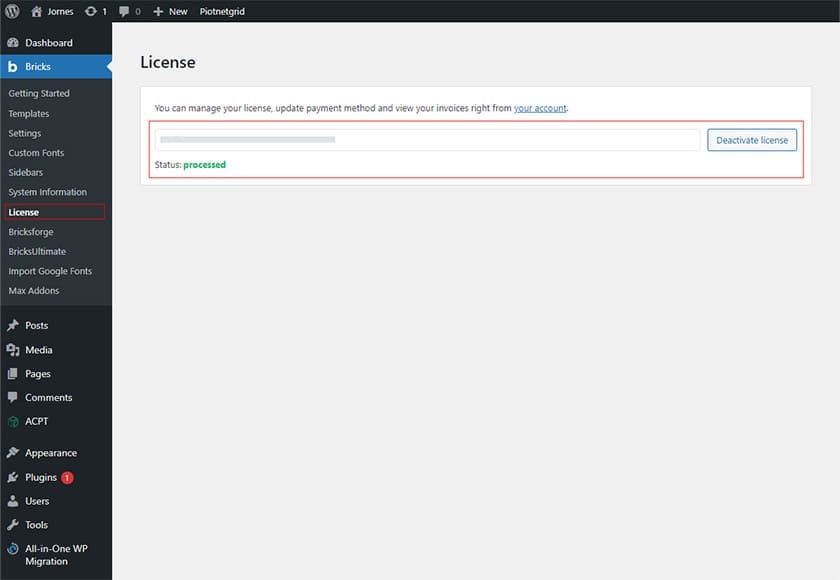
In the WP dashboard. Head to Bricks(top left) > License
You will then see a field to paste the license key you copied from the Bricks account. Paste it, then click on activate license. The license activation is done when you see the status is processed in green.
2: Bricks Settings
Whenever I develop a new site(most probably for my biz) with Bricks, I will activate and deactivate something from the Bricks setting. But, of course, all these are based on personal preferences and might not suit your use case.
Setting > General
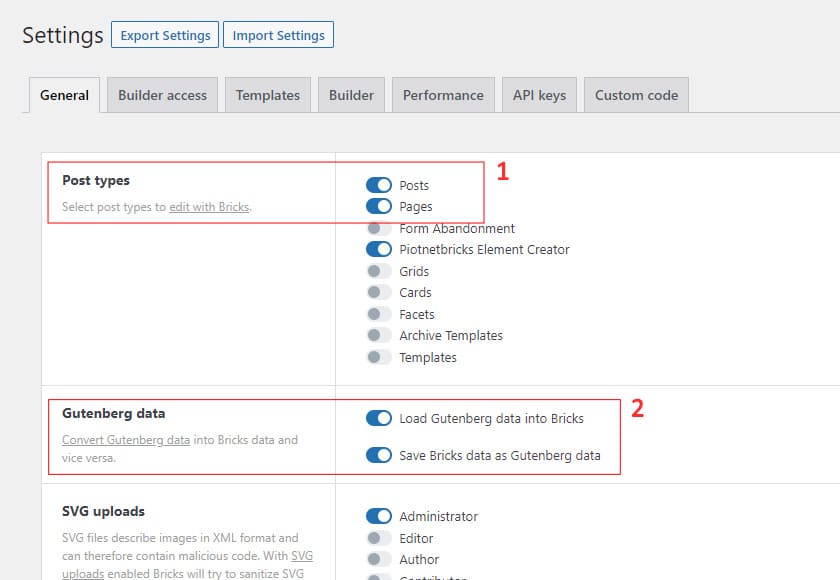
Post Types
By default, Posts & Pages have been enabled for you. However, you can disable Posts for the Post Types if you are not going to style and write your blog posts in the Bricks Builder. I will do this for some sites when necessary.
Gutenberg Data
This option is for you to convert the data in Gutenberg into Bricks data and vice versa. I strongly recommend doing so if you are using an SEO plugin(Rankmath, SEOPress or others), so they can detect the content more accurately.
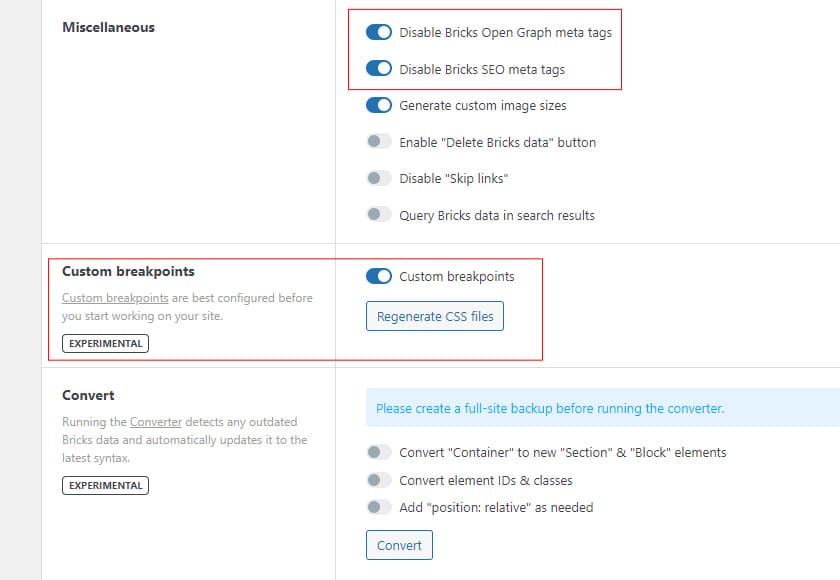
Miscellaneous
As mentioned above, you must disable these options if you use any SEO plugins for your site. Otherwise, Bricks will generate one more repeated meta tag for your website that would cause issues with ranking.
Custom Breakpoints
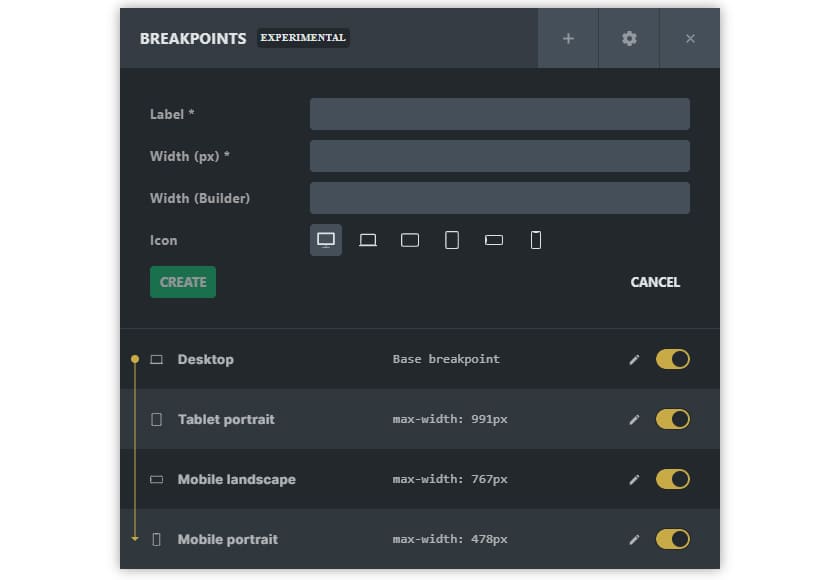
I will enable this for all my builds because it allows me to build websites with better responsiveness.
With the custom breakpoints, you can build your website from standard breakpoints or a mobile-first layout, as it offers a base breakpoint, which is an excellent idea for users that need different approaches.
Settings > Builder
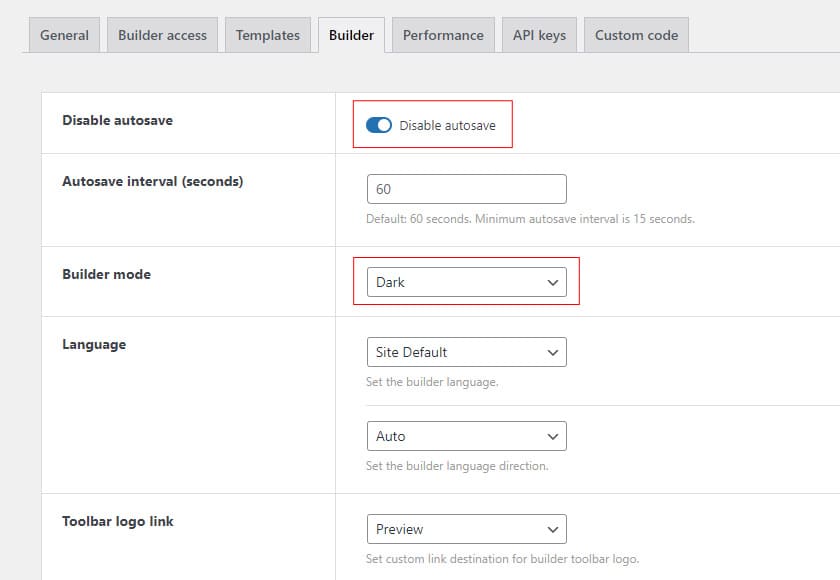
Disable Autosave
I don’t like the builder auto-saving my changes which would cause multiple revisions to my history. And it might affect the Undo feature as well.
Builder Mode
It depends on you as it’s a choice subject to personal preference. I like it to be dark mode myself.
Toolbar Logo Link
The Bricks logo on the builder is beneficial. It can be linking to a preview of the current page you’re editing, back to your homepage, back to the dashboard, Post Type, back to editing your page in WordPress mode and no link. Please refer to the screenshot below.
You can enable the option to open it with a new window(which I prefer).
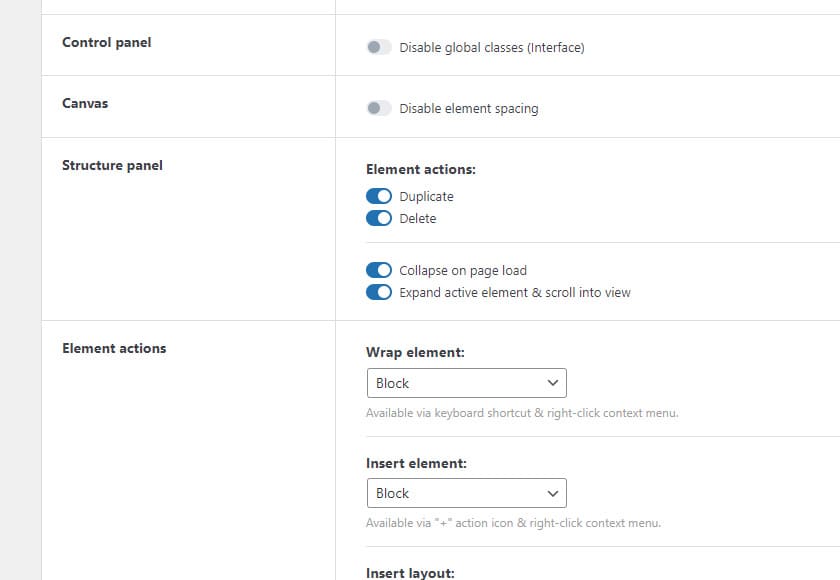
Control Panel
If you don’t use the global class while creating your website, you can toggle it and disable the option.
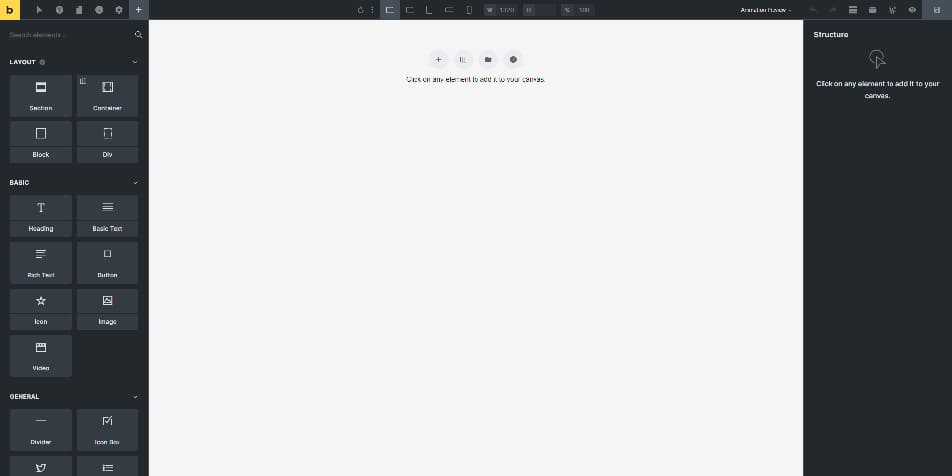
Structure Panel
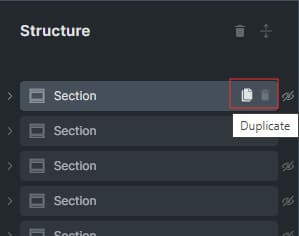
Element Actions
The duplicate and delete buttons, as shown in the image below, are disabled by default. You have to enable it in the settings. I find this useful for my workflow.
Structure Items Collapsible and Expanding
This option makes your structure panel tidier on page load and easier to navigate between your page.
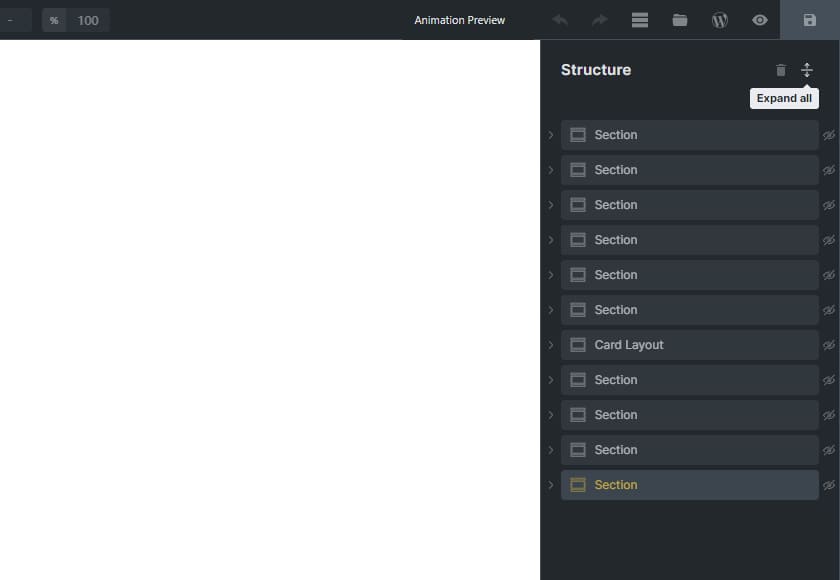
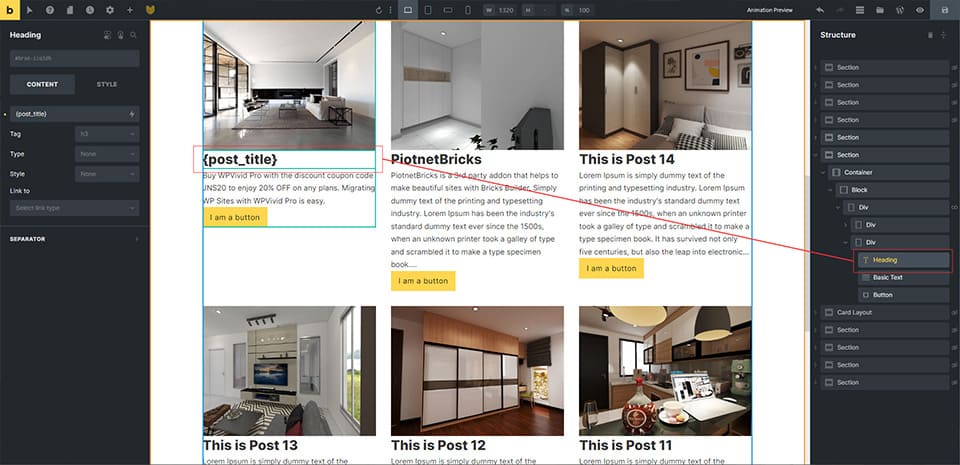
Structure Items Expand when clicking on the Canvas
Look at the structure panel on the right; the items in it expanded when I clicked on the heading element. Most importantly, the structure panel will scroll automatically when we click on the component on the canvas.
Dynamic Data
This is my favourite option. Without this feature, you will see your dynamic data render “How to use Bricks Builder” this way instead of valid data showing the actual post title on the editor.
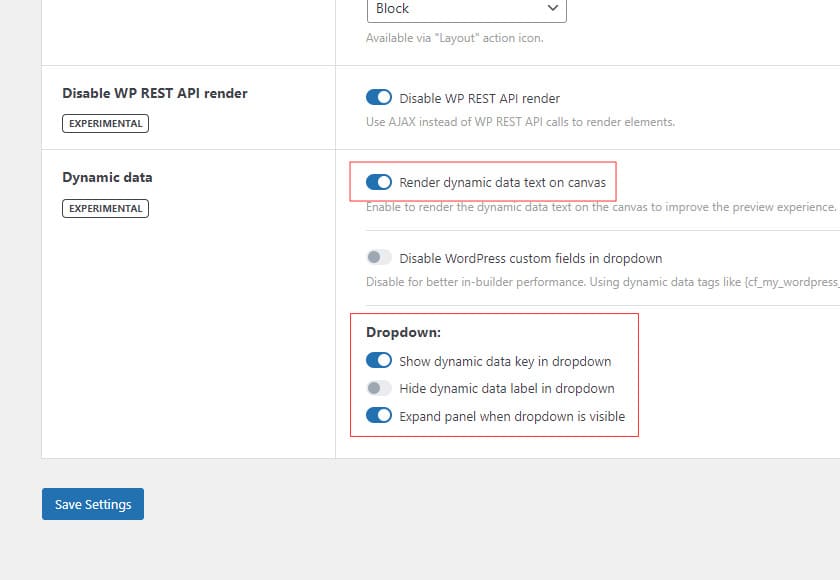
Dynamic Data Dropdown
It depends on you if you want the same. You might think, what is this for? Refer to the screenshot below.
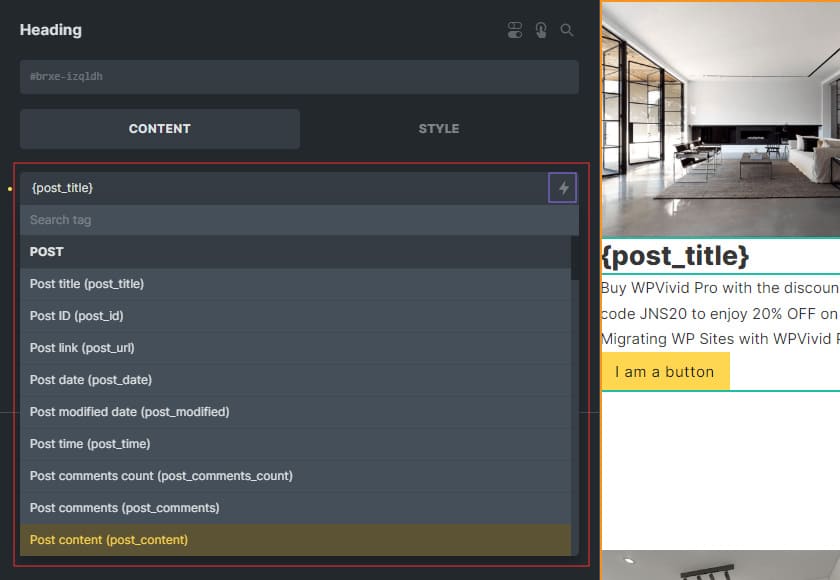
The screenshot above is the dropdown field when you click on the dynamic data highlighted in purple.
Settings > Performance
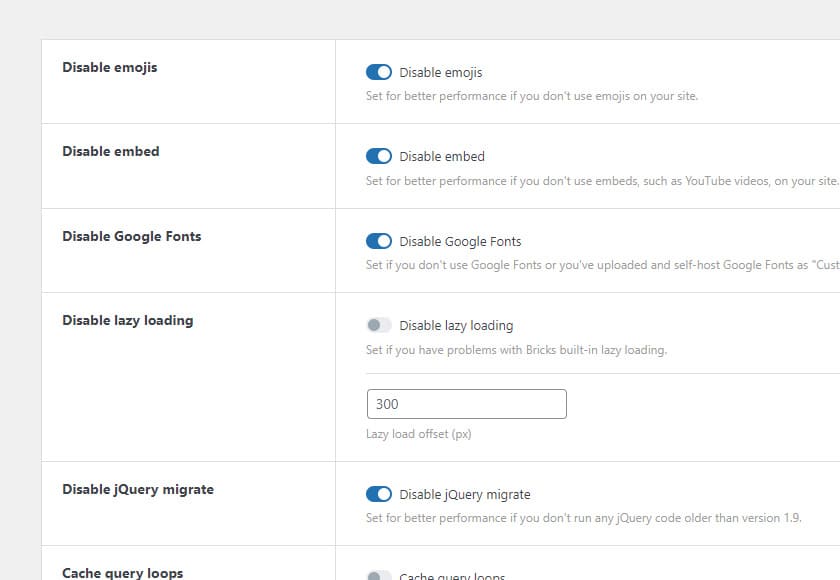
Disable Emojis, Embed, Jquery Migrate and Google Fonts
I don’t use such options(all enabled options) on some of my builds, so I’d turn them off so the builder doesn’t load extra resources on my page, so my site will be lighter.
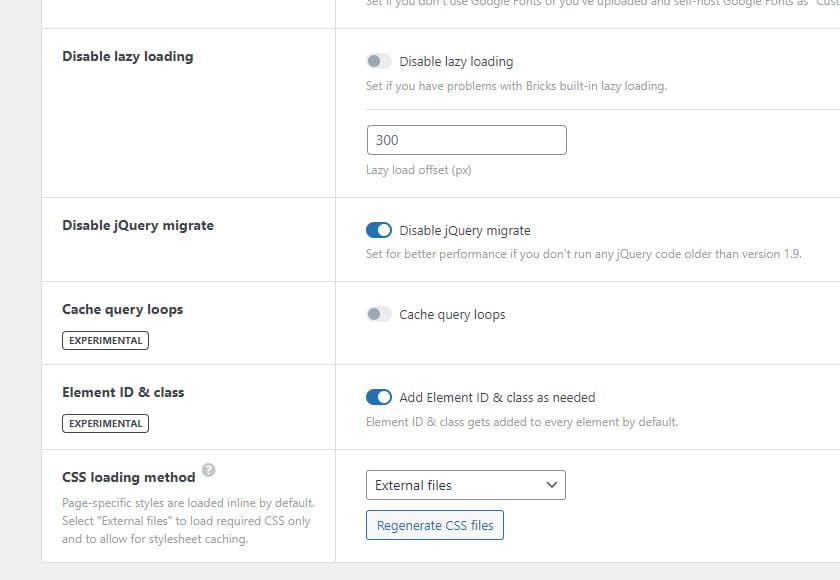
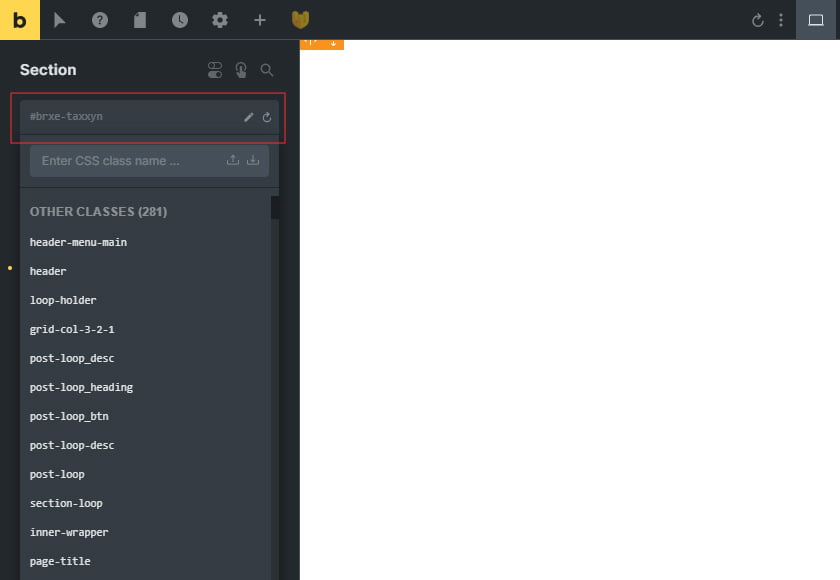
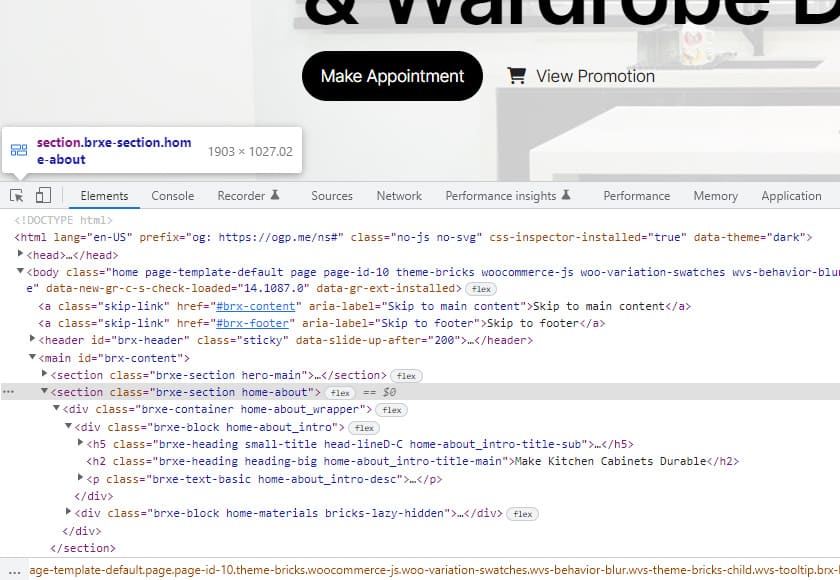
Element ID & Class
I love this option a lot. Because it makes the HTML output even cleaner, we won’t see the IDs on my page when we style our element with a global class. Refer to the screenshot below.
That’s all about the Bricks setting I set for my sites.
3: Assigning Header & Footer
Some of you might be unsure how to assign the header and footer to your page. I see people posting on Bricks’ official group asking why they failed to see their header and footer after doing everything.
Create a header
On WP Dashboard, head to Bricks > Templates > Add the new template to create your first header.
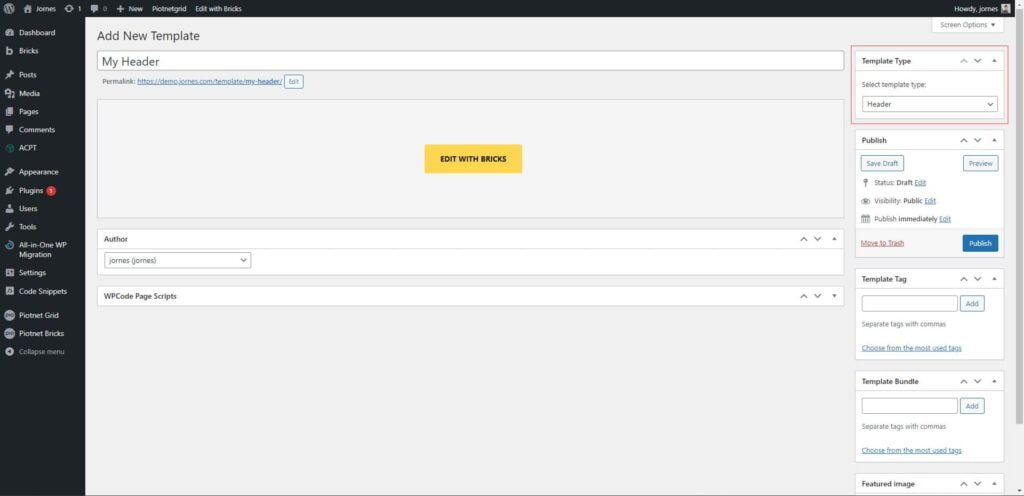
Give your header a name, and assign the template type to the header. Please remember that this is not the place to set conditions for your header. You can only give the template with the condition when you click “Edit with Bricks“.
Create a footer
This is precisely the same step as “create a header” above. Assigning the template type to “footer” instead of “header” would be best.
Set Conditions for your templates
Now, you should have created a template for a header and footer. Now, choose your template and click on “Edit with Bricks”. You will see the Bricks Builder in 1-3 seconds.
Head to Setting(arrow pointing) > Template Setting > Condition
You will then see this screen as per the screenshot below. This section allows you to set conditions for your templates and which page you want to show and hide.
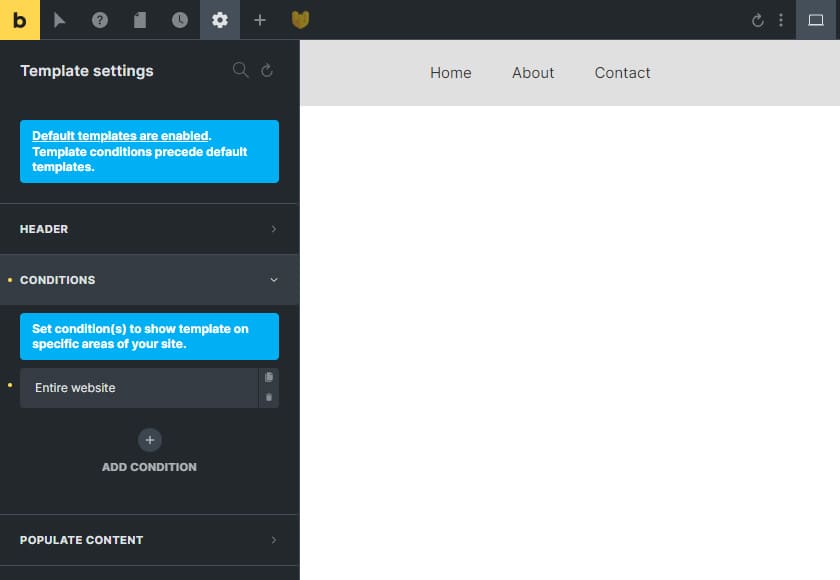
If you want your template to use across the entire website, you must choose “Entire Website” from the first dropdown.
4: Setting Theme Styles
Finally, it’s time to talk about setting theme styles.
When I start building my website, setting up theme styles is the very first step of the workflow.
Pre-Define Styling
In the theme style settings, you can pre-define the styles you want for every element. For example, you can choose the layout for your website, define a max-width for the container(for global width purposes), and pre-define the heading/paragraph and all other elements(some call them widgets) on the website for your website. I am not going through every element here, but I’ll tell you what I’ll do for the theme styles.
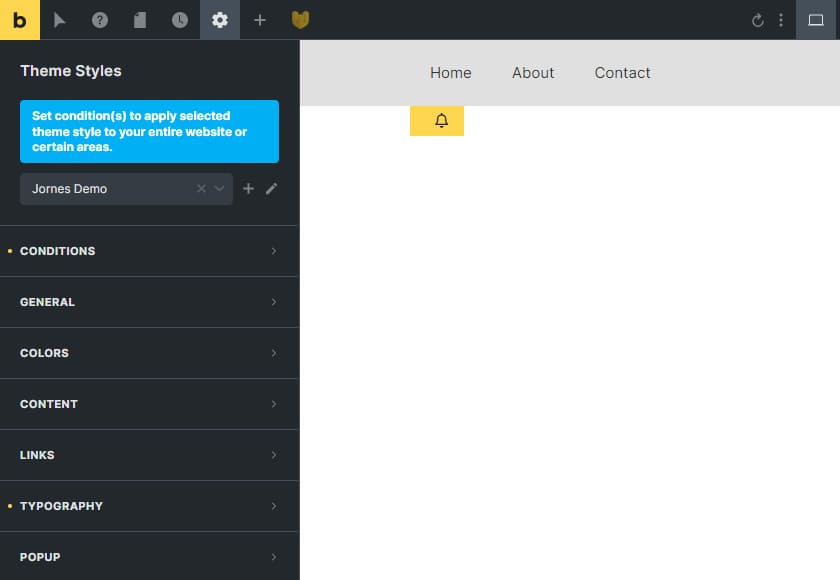
Conditions
It would be best if you assigned a condition to make your theme styles work for your website.

The theme styler is powerful because you can create multiple theme styles and assign them to your desired pages. Also, you can give every page an individual style(but no one will do so). The best part is that you can exclude it for the pages you don’t want the theme style to apply.
You must choose “Entire Website” from the dropdown to apply the theme style to your website entirely. Then, you can click on the “+” to add a condition for the theme style to exclude which pages you don’t want the same type to apply.
General
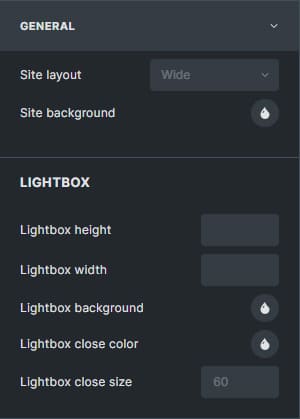
You can choose whether you want your website layout to be full-width or boxed. And the background colour for the entire site.
Lightbox Setting
You can set the lightbox item’s width and height here and the lightbox’s background colour. You can also change the colour and size of the close button.
Colours
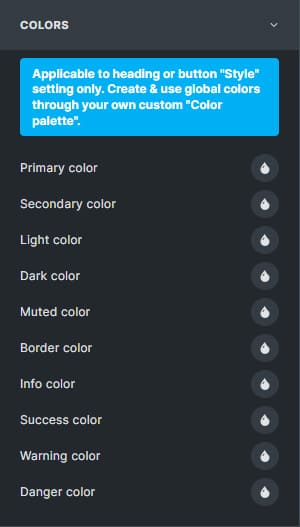
This option allows you to do the colour preset you want for your site. But it is only applicable to headings and buttons.
Links

This option allows you to preset the link style you want for your site. But it only allows you to do basic styling. You need custom CSS to achieve the different styling for the links.
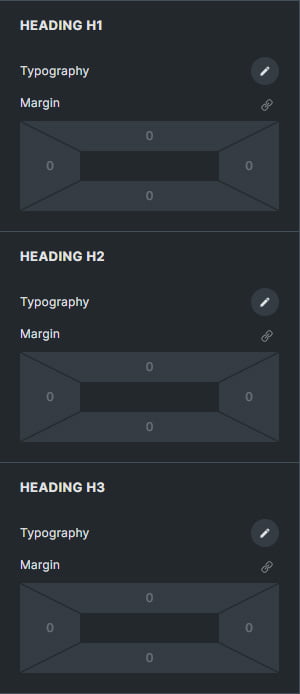
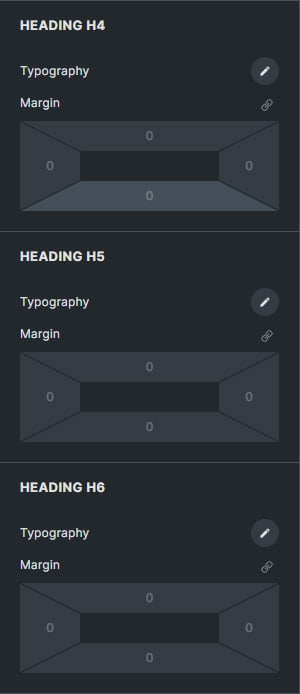
Typography
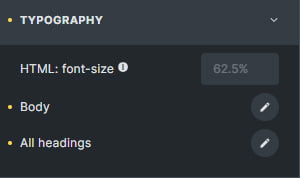
You can change the percentage of the HTML font size. It is 62.5% by default and the standard of web development. And you can preset the font size and styling for the text and headings. For example, “All Headings” mean to style it from one place. So it applies to all the headings. You can then set different sizes for every title from h1-h6.
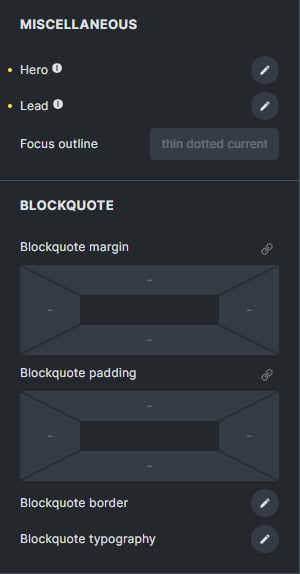
Miscellaneous
I will usually use Hero & Lead for my hero sections. I preset them here and don’t need to create a global class for them when I design my hero section. You can also preset the blockquote element(if you use it).
What did you learn from this article?
I hope this guide helped you to get started when using Bricks Builder. Should you need any more precise information, please comment below. I will come back to you with the solution that you want.
The most important I want to share with you guys is that don’t forget to back up your website when you design your site. Otherwise, your effort will be wasted once something goes wrong.
Thank you for reading this article!


