Introduction
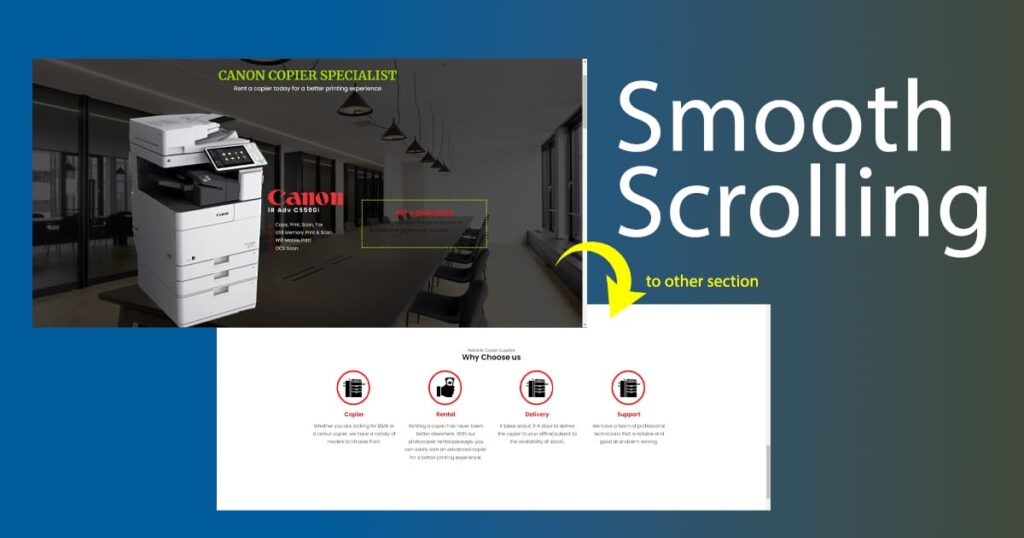
Smooth scrolling is a user interface technique that allows web pages to smoothly scroll up or down to a specific section rather than jumping or abruptly scrolling to that section. It creates a more enjoyable user experience by seamlessly transitioning between page sections. This technique is especially important for long web pages or sites containing such content. Users may become disoriented and frustrated or leave the site without smooth scrolling.
The Benefits of Smooth Scrolling
Smooth scrolling has several benefits for both website owners and users.
1. Improved User Experience
Smooth scrolling creates a more natural and enjoyable user experience by seamlessly transitioning between page sections. Users are likelier to stay on a site that provides a smooth experience, leading to increased engagement and a lower bounce rate.
2. Better Accessibility for Users with Disabilities
Smooth scrolling can also improve accessibility for users with disabilities. For example, users with vestibular disorders may experience dizziness or nausea from sudden or jerky movements, and smooth scrolling can help to alleviate these symptoms.
3. Increased Engagement and Reduced Bounce Rate
Smooth scrolling can help to increase engagement and reduce the bounce rate of a website. Users are more likely to scroll through a page and engage with the content when the scrolling is smooth and seamless.
4. Improved SEO
In addition to improving user experience, smooth scrolling can improve a website’s search engine optimization (SEO). Google and other search engines prioritize user experience when ranking websites, and smooth scrolling is a factor that can contribute to a positive user experience.
How to Implement Smooth Scrolling Without Plugins
Implementing smooth scrolling on a website is relatively straightforward and can be accomplished without plugins. Here are the steps to follow:
Step 1: Adding the Code
Add a small piece of JavaScript code to your website’s HTML file to implement smooth scrolling. Here’s the code you’ll need to add:
<script>
// Get all links with hash value
const links = document.querySelectorAll('a[href^="#"]');

// Loop through each link and add an event listener to it
links.forEach(link => {
  link.addEventListener('click', function(event) {
    // Prevent default anchor click behavior
    event.preventDefault();

    // Get the target element based on the hash value of the clicked link
    const target = document.querySelector(this.getAttribute('href'));

    // Get the offset value and add 50px to it
    const offset = target.offsetTop - 0;

    // Get the speed value, or set a default value of 800ms
    const speed = parseInt(this.getAttribute('data-scroll-speed')) || 800;

    // Scroll to the target element with smooth behavior, using the speed and offset values
    window.scrollTo({
      top: offset,
      behavior: 'smooth',
      duration: speed
    });

    // Manually change the URL without creating a new history entry
    if (history.replaceState) {
      history.replaceState(null, null, window.location.pathname);
    } else {
      window.location.hash = '';
    }
  });
});
</script>
Step 2: Customizing the Code
The code above is not Jquery. It’s Vanilla Javascript. You can customize the code to fit your specific needs. For example, you can adjust the scrolling speed by changing the value of the number (800) in the code. A higher number will make the scrolling slower, while a lower number will make it faster.
Step 3: Customizing the Smooth Scrolling Effect
Now that you’ve added the smooth scrolling code to your website, you can customize the effect to fit your design preferences. Here are some options for customization:
Adjusting the Scroll Speed
You can set the speed of the smooth scrolling by adding a data-scroll-speed attribute to the link element with a value in milliseconds. If this attribute is absent, a default value of 800ms will be used.
For example, if you want to set the speed of the scrolling to 500ms, you can add a data-scroll-speed attribute to the link element like this:
const speed = this.hasAttribute('data-scroll-speed') ? parseInt(this.getAttribute('data-scroll-speed')) : 500;Changing the Scroll Offset
Similarly, In the code above, you can set the offset of the scroll by adding or subtracting a value from the target element’s “offsetTop”. In this code, the value of 0 is used to set the offset at the top of the target element. If you want to add an offset value, you can adjust this value to your desired offset.
For example, if you want to set the offset to 50px from the top of the target element, you can change the 0 value to “-50,” like this:
const offset = target.offsetTop - 50;
It’s not just a basic smooth scrolling
The code I share in this article is not only enabling smooth scrolling for your website. It also does something different. A basic smooth scrolling code would add the ID prefix to the end of your URL(example: domain.com/page#sectionID) in the address bar and store every click in your browser history, so you will see your browser history keep increasing.
This code helps prevent the Section ID from showing at the end of the URL(on the address bar) and prevents the clicks from storing in the browser history.
Conclusion
Smooth scrolling is an essential technique for improving the user experience of your website. It creates a seamless transition between sections, reduces user frustration, and can improve your website’s search engine optimization. With just a few lines of JavaScript code, you can implement smooth scrolling on your website without needing plugins. And with the options for customization, you can tailor the effect to fit your design preferences.


